Tag: How-To

Step-by-step, practical guides for planning and preparing.

  • 3 Days in Sydney: A Photographer’s Walk-Through

    3 Days in Sydney: A Photographer’s Walk-Through

    Three days is not enough time to “do” Sydney, so I didn’t try. I walked it, shot it early, and let the afternoons go slow. Here’s the exact route we took — useful if you’ve got a camera and roughly the same amount of time.

    Day 1 — The greatest hits, on foot

    Start at the Opera House, because you’re going to anyway, then walk across the Sydney Harbour Bridge — the view back toward the sails is the one you think you’ve already seen a hundred times, and it still gets you. We carried on to Luna Park (the giant grinning face at the entrance is a gift to anyone holding a camera) and took the ferry back. Sydney is a harbor city; the ferry is not a tourist activity, it’s just the good way to travel, and it happens to hand you a moving viewpoint of the skyline for the price of a normal ticket.

    Day 2 — Bondi, slowly, then a sunset ferry

    Bondi Beach in the morning, a long unhurried breakfast, then the Bondi coastal walk — cliffs, pools, and more joggers in better shape than you. In the evening we went out to the Watson Bay lighthouse, then timed the ferry back for sunset so we’d catch the Opera House as the light went. That’s the move I’d repeat: don’t shoot the Opera House at midday with everyone else. Let the ferry deliver it to you at golden hour instead.

    Day 3 — The one photograph, then actually relax

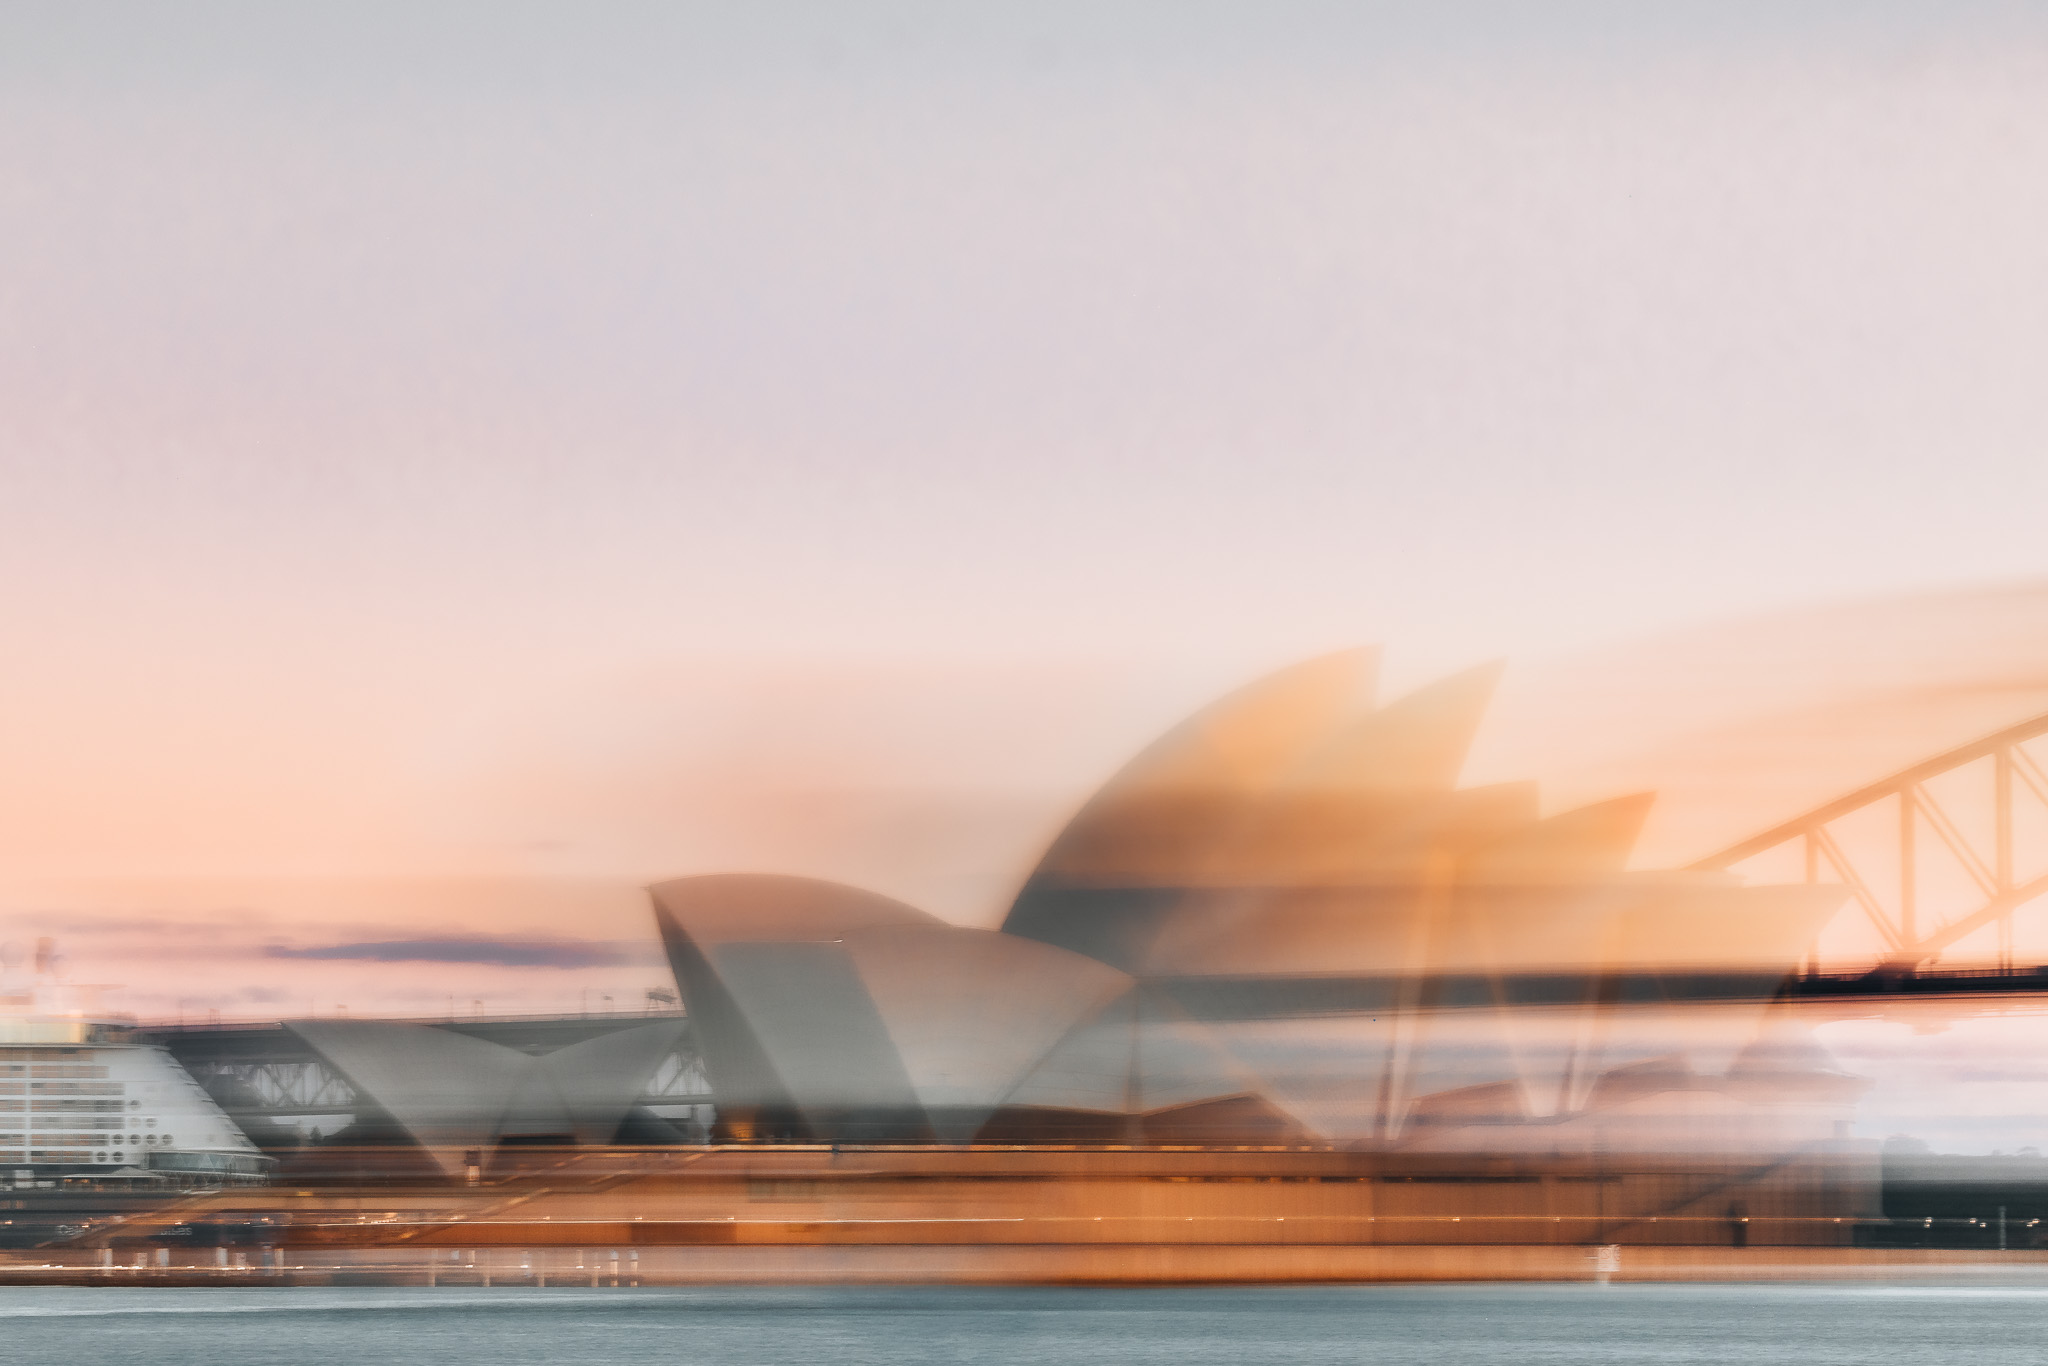
    I got up before sunrise and walked to Mrs Macquarie’s Chair in the dark. That’s where the Opera House image I sell comes from — the tile detail up top, the part we stop seeing because we’re so used to the whole building. (The full pre-dawn story is its own post: Greetings From Sydney.) After that, we let the day off the leash — over to Manly Beach to just hang out. We’d talked about a scuba dive and skipped it; the water was cold and, honestly, sometimes you’d rather enjoy the trip than white-knuckle a dive you’ll spend all morning dreading. Dinner was in Chinatown, street tables, the most attentive service of the whole trip.

    A note on how Sydney feels

    We’d just come off a run of trips through Asia, and Sydney hit differently — so Western, so familiar, that it made the world feel small for a minute. A huge, buzzing city on the far side of the planet that could almost be home. Worth knowing going in: it’s an easy city to love, not a hard one to decode.

    Where to point the camera (the short list)

    Mrs Macquarie’s Chair at sunrise, the bridge walk looking back at the sails, the sunset ferry, and Luna Park’s face for something with a little humor in it. Shoot the details, not just the postcard — that’s usually where the actual photograph is hiding.
    Speaking of postcards: the Opera House detail became Greetings From Sydney in the Postcards Collection, if you’d like the small version of a place you may or may not make it to. Start there.

    — Preston

  • How to Care for and Store Fine Art Prints (So They Actually Last)

    How to Care for and Store Fine Art Prints (So They Actually Last)

    You bought the print. Good. Now let’s make sure it outlives both of us, which — if it’s printed the way mine are — it’s fully capable of doing, provided you don’t undo that with a sunny wall and a damp basement.

    None of this is complicated. A fine art print isn’t fragile, exactly; it’s just honest. It’ll show you the conditions you keep it in over a long enough time. Here’s how to keep it happy.

    Handle it by the edges

    Skin has oils. Prints have long memories. When you’re moving an unframed print, hold it by the edges (clean, dry hands, or cotton gloves if you want to feel official about it) and try not to press the surface. Fingerprints on a matte cotton-rag surface can show up later even when they were invisible going on. If you need to set it down, set it on something clean and flat, face up.

    Keep it out of direct sun

    This is the big one. Even the best archival pigment prints have a happier, longer life out of harsh, direct sunlight. Bright, indirect light is your friend. A wall that gets a blast of full afternoon sun is the one place I’d avoid — not because the print will vanish next week, but because decades are the whole point, and UV is the one thing quietly working against that timeline. If your only good wall is a bright one, framing with UV-protective glazing solves most of it.

    Frame it right, or store it flat

    Framing does two jobs: it protects the print and it changes how the print reads on the wall (more on that in The Art of Display). Use acid-free mats and backing so the materials touching your print aren’t slowly working against it. If you’re not framing yet, store prints flat — in an archival sleeve or between acid-free boards — not rolled and rubber-banded in a closet. Rolling a print and forgetting about it for a year is how you end up fighting a curl forever.

    Mind the humidity

    Prints like what people like: moderate, stable conditions. Not the damp basement, not directly above a radiator, not the bathroom with the great light and the terrible humidity swings. Stable beats perfect. Wild swings are what you’re avoiding.

    The short version

    Handle by the edges, keep it out of direct sun, frame with acid-free materials (or store it flat), and don’t keep it anywhere you wouldn’t want to sit for a year. Do that and the archival part does the rest — which is the whole reason to buy a real print instead of a poster in the first place. If you want the deep version of why some prints last a century and others fade in a decade, I wrote that one too.

    Not collecting yet? Start small. A postcard or an open-edition print counts, and it teaches you everything above for a fraction of the stakes.

    — Preston

  • A Photographer’s Guide to New Zealand’s South Island (Where to Point the Camera)

    A Photographer’s Guide to New Zealand’s South Island (Where to Point the Camera)

    We spent the better part of a week working our way across New Zealand’s South Island with the cameras out the entire time. Here’s the route we actually took, and — more useful for you — where the light genuinely earned its keep. Consider it the guide I wish I’d had, written by someone who was cold and standing in most of these spots.

    First, a warning.

    Getting in: the Queenstown airport will test your nerves

    Queenstown’s airport is tucked between mountains, and the wind has opinions. Our plane got within about fifty feet of the ground twice — once from each direction of the runway — aborted both times, and then simply gave up and flew us to Christchurch for the night. So: book a flexible fare, keep your expectations loose, and maybe have a Christchurch dinner spot in your back pocket. (Ours was Kaiser Brew Garden in Riverside Market. You’re welcome.)

    Queenstown & Arrowtown — your base

    Queenstown is the hub. Ride the Skyline gondola up at dusk for the town-and-lake view (the go-karts at the top are non-negotiable, for research purposes). Then give Arrowtown a full slow day — rent bikes and ride out through the countryside to the wineries. If you can time it for autumn color, do; the whole valley turns.

    Milford Sound — go even if it’s raining. Especially if it’s raining.

    We were supposed to fly back from Milford and got rained out, so we bused. Best accident of the trip: the rain turns the cliff faces into hundreds of temporary waterfalls you’d never see on a clear day. Take the boat. Get soaked. Worth it.

    Blue Pools & Haast Pass — glacial blue, and then some

    The Blue Pools are an easy, gorgeous stop — that impossible glacial color. And if you’re willing to get cold and a little lost past Haast Pass, there’s more back there than the pull-offs suggest. (That one turned into its own story.)

    The Wanaka Tree & Lake Pukaki — the postcard blues

    The lone Wanaka Tree is the most photographed tree in the country, so shoot it at first light or blue hour unless you enjoy other people’s tripods in your frame. Just up the road, Lake Pukaki’s glacial blue barely looks real; a roadside viewpoint does the whole job.

    Mt John Observatory & Lake Tekapo — save the overcast day for this

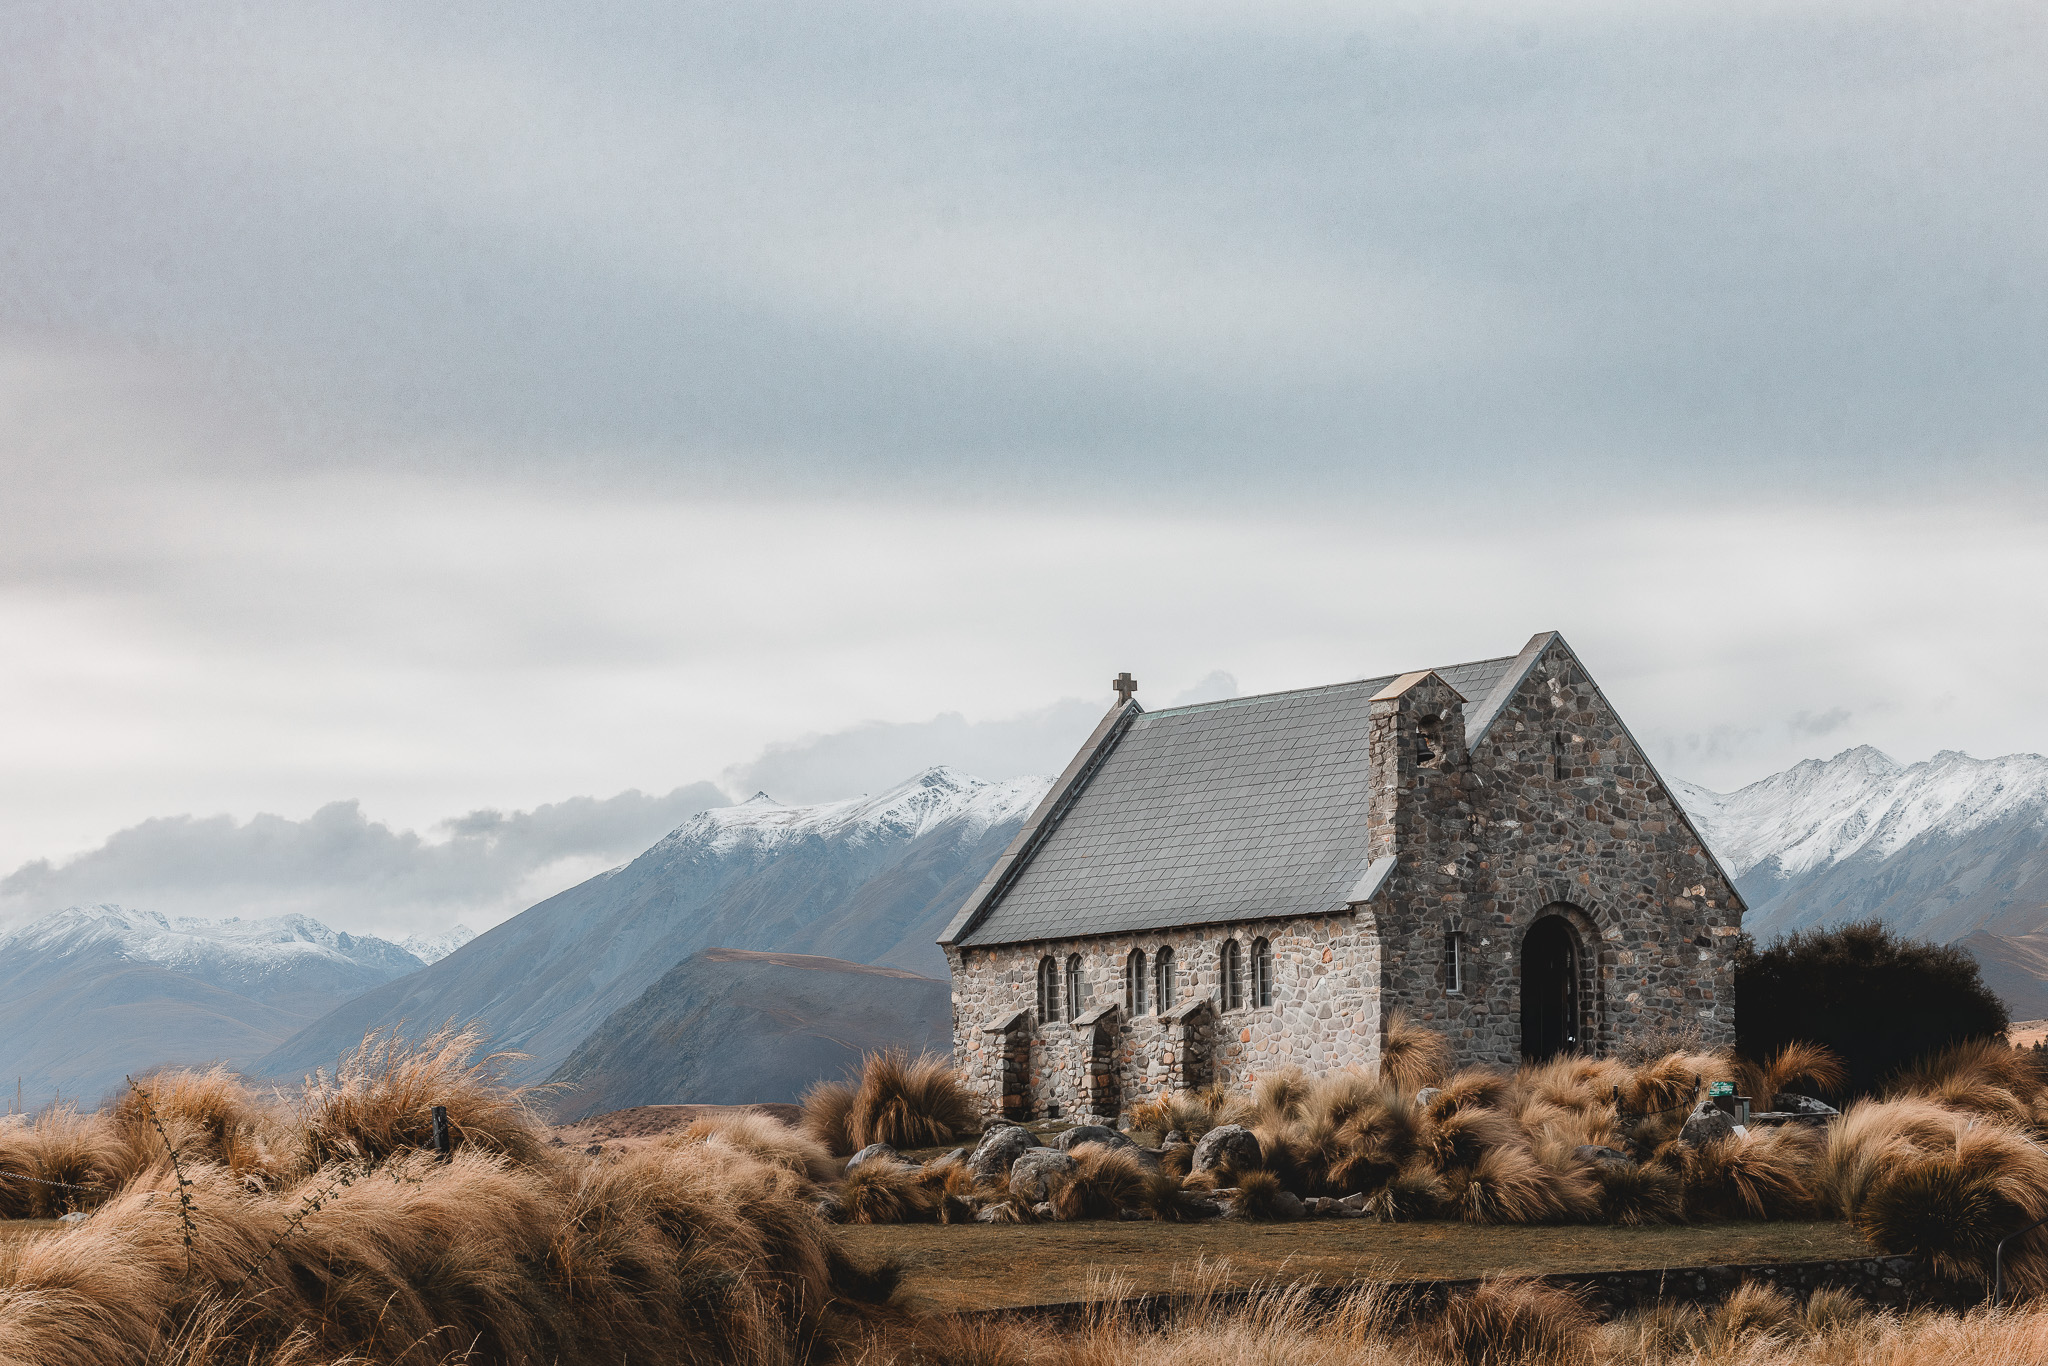
    Climb to the Mt John observatory for the big-sky view over Tekapo (ours was a last-minute call and immediately worth it). Down on the lakeshore is the Church of the Good Shepherd — a tiny stone church against all that openness. An overcast sky is a gift here, not a setback.

    The train + the ferry — shoot the coast, watch the weather

    The Christchurch → Picton train (spring for first class; you’ll be wined and dined past open-air coastal views) hands you the South Island’s coastline on a plate. Then the ferry across the Cook Strait to the North Island — smooth for us, and the last one to make it across for a couple of days as the weather turned. Check the forecast, and don’t dawdle.

    The prints

    A lot of these stops came home as photographs, and several are becoming prints in the shop. If you’re just starting a wall, start with a postcard. That’s how every collection starts.

    — Preston

  • The Images Every Vacation Rental Listing Needs

    The Images Every Vacation Rental Listing Needs

    Most vacation rentals miss a few critical photos that can dramatically improve bookings.

    When guests browse vacation rental platforms, they rely almost entirely on images to understand what a property offers. Within seconds, photographs shape their expectations of the space, the atmosphere, and the overall experience.

    Many listings include basic images of rooms but overlook photographs that help guests imagine themselves staying there.

    A thoughtful set of images can transform a listing from simply informative to genuinely inviting—and that difference can significantly influence booking decisions.

    The Hero Image

    The first image guests see is often the most important.

    This photograph serves as the visual introduction to the property and determines whether someone clicks on the listing.

    A strong hero image should be:

    • bright and welcoming
    • visually balanced
    • representative of the property’s best feature

    For some rentals, the hero image may highlight a living space with natural light. For others, it might feature a scenic outdoor view, pool area, or architectural detail.

    The goal is to immediately capture attention while conveying the atmosphere of the property.


    The Living Space

    The main living area is often where guests imagine spending the most time.

    Photographs of the living space should emphasize:

    • comfort
    • openness
    • natural light
    • seating arrangements

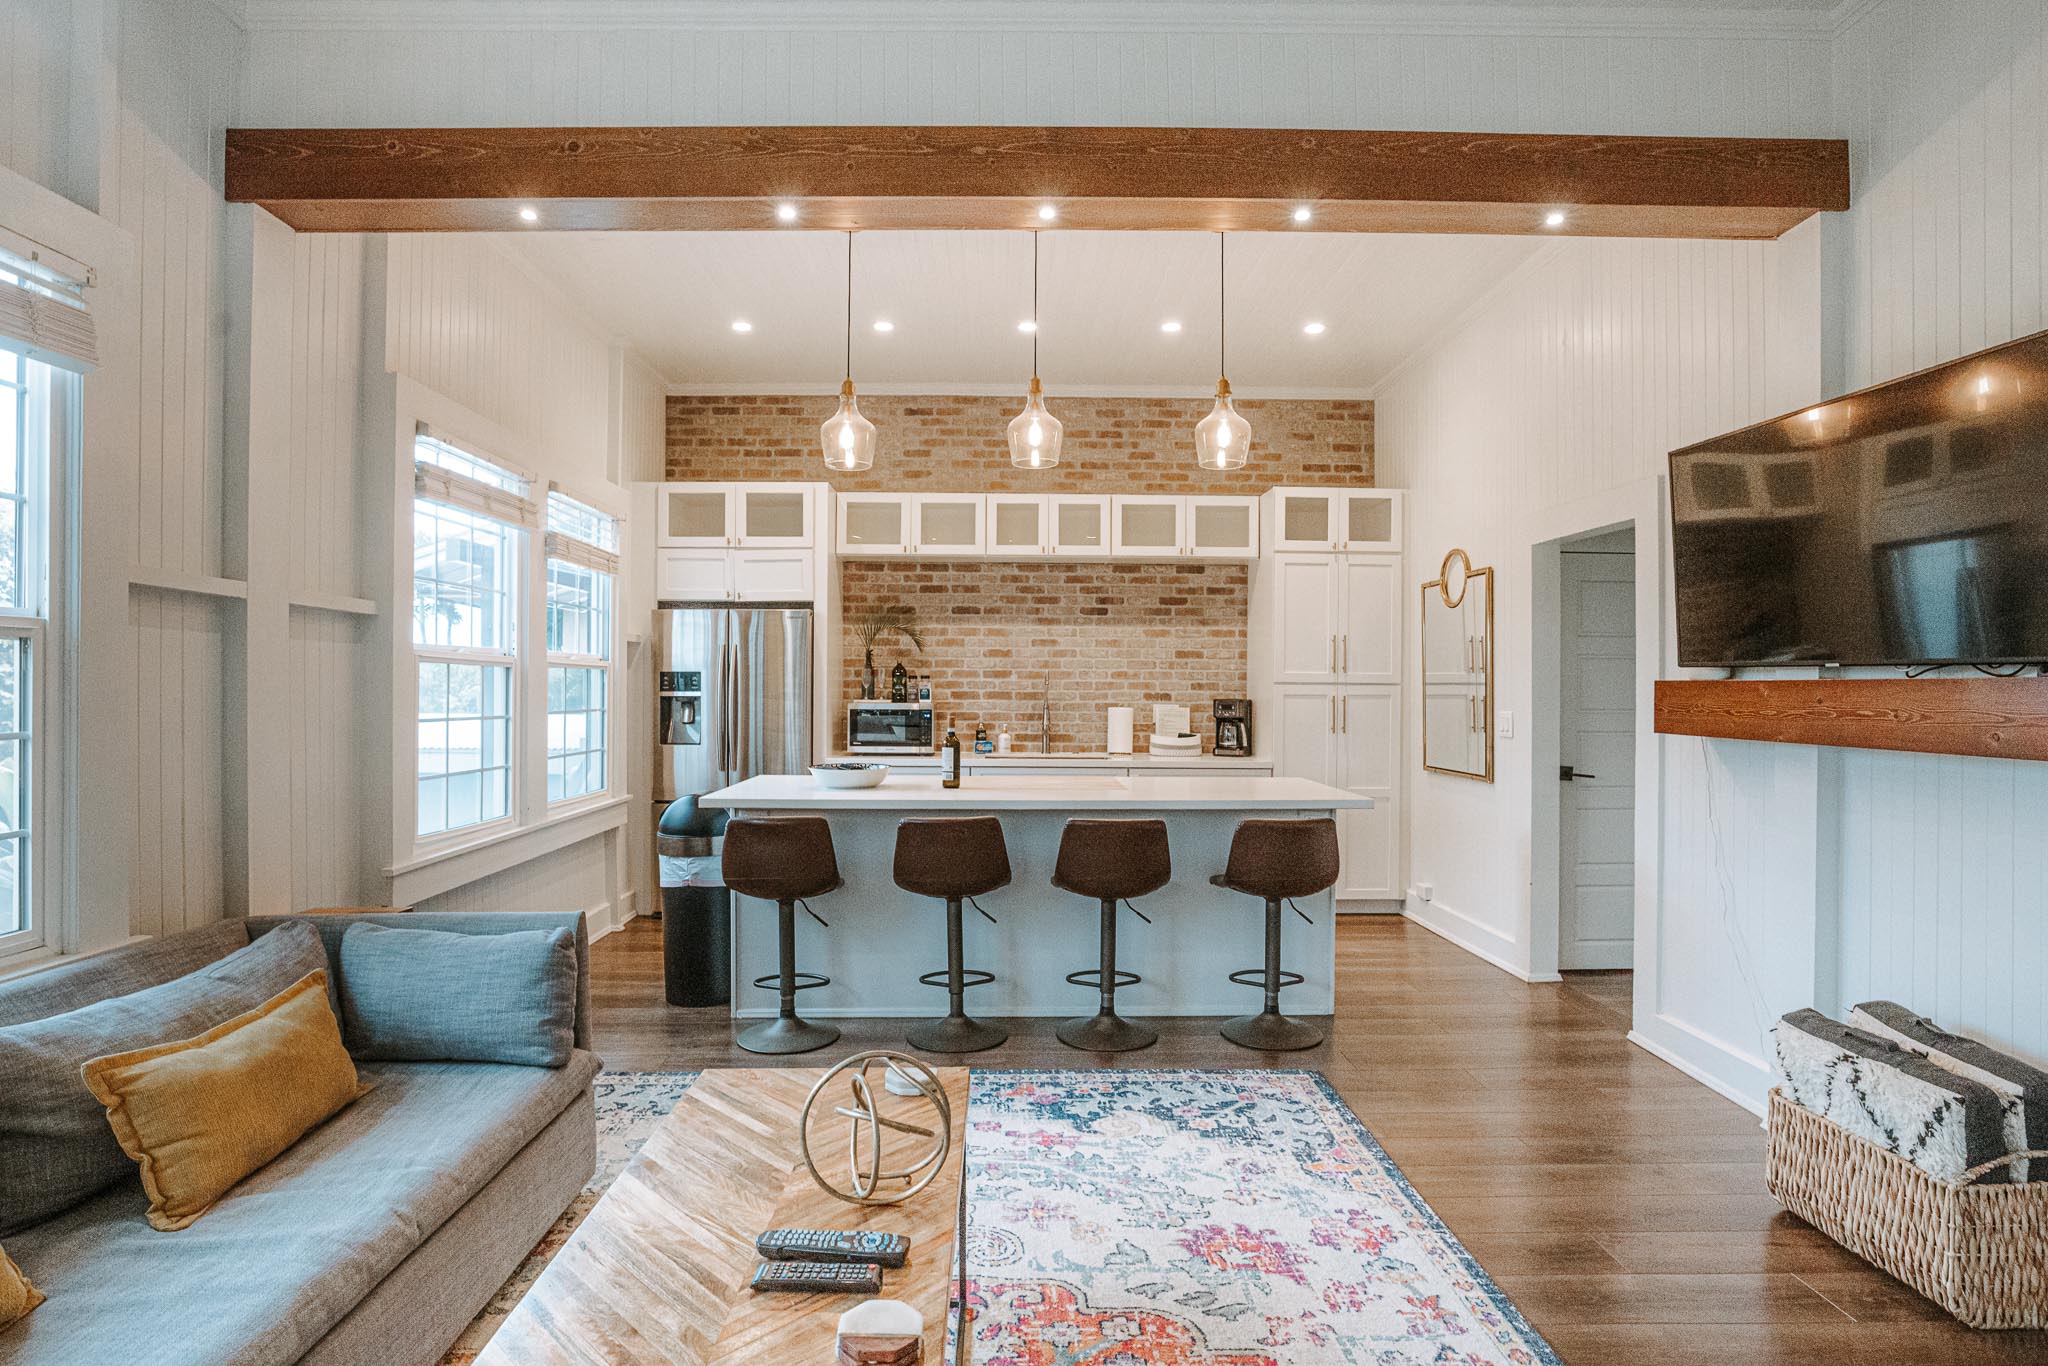
    Wide compositions often work best here, helping viewers understand the layout of the room.

    Details such as cozy seating areas, thoughtful décor, and inviting lighting can help the space feel more welcoming.


    The Bedrooms

    Bedrooms are one of the most important decision-making factors for guests.

    Clear photographs should show:

    • bed size and arrangement
    • overall room layout
    • windows and natural light
    • bedside details or décor

    A well-lit bedroom image can help guests imagine waking up in the space, which makes the property feel more appealing.


    The Kitchen

    For many travelers, the kitchen represents convenience and comfort.

    Even guests who plan to dine out frequently often want access to a functional kitchen.

    Photographs should show:

    • the full layout of the kitchen
    • appliances and workspace
    • dining areas or breakfast bars

    These images reassure guests that the property can accommodate everyday needs during their stay.


    The Bathroom

    Bathrooms are another important detail guests want to see clearly.

    Good photography should present bathrooms as:

    • clean
    • bright
    • organized
    • thoughtfully styled

    Wide shots showing the full layout help guests understand what to expect.

    Even small bathrooms can appear inviting with thoughtful lighting and composition.


    Outdoor Spaces

    Outdoor areas often become the highlight of a vacation rental experience.

    Photographs might include:

    • patios or decks
    • mountain or lake views
    • fire pits or outdoor seating
    • pools or hot tubs

    These spaces help guests imagine relaxing outdoors and enjoying the surrounding environment.

    If the property has a scenic location, outdoor photography becomes even more important.


    Lifestyle Moments

    In addition to room photographs, lifestyle images can add emotional appeal to a listing.

    These images show how a space can be experienced rather than simply documenting its features.

    Examples might include:

    • morning light entering a living room
    • coffee on a balcony
    • a cozy seating area beside a window
    • evening lighting around a patio

    These subtle storytelling elements help guests picture themselves enjoying the space.


    The Surrounding Environment

    Guests also want to understand the property’s surroundings.

    Images of the surrounding area might include:

    • nearby mountains or landscapes
    • views from the property
    • neighborhood atmosphere
    • nearby attractions

    These photographs help guests visualize the broader experience of staying in the area.


    Creating a Complete Visual Story

    The most effective vacation rental listings create a visual journey through the property.

    Rather than simply documenting each room, the photographs work together to tell a story.

    From the hero image to the final outdoor scene, the goal is to help potential guests imagine their stay unfolding naturally within the space.

    When photography accomplishes that, the listing becomes more than a set of images—it becomes an invitation.

    If you’re interested in learning more about the role photography plays in hospitality marketing, you may also enjoy:

    Why Professional Photography Increases Vacation Rental Bookings

  • How to Build a Wedding Timeline That Leaves Space for Real Moments

    How to Build a Wedding Timeline That Leaves Space for Real Moments

    The best wedding photos rarely happen on the timeline — they happen in the moments between.

    A carefully planned schedule helps a wedding day run smoothly. But when every minute is tightly controlled, the day can start to feel rushed, leaving little room for the natural moments that make weddings meaningful.

    Some of the most memorable photographs happen in the quiet spaces between planned events—a laugh shared between friends, a parent’s emotional glance, or a spontaneous celebration on the dance floor.

    A thoughtful wedding timeline balances structure with flexibility, creating space for both organization and genuine moments to unfold.

    Why a Wedding Timeline Matters

    A timeline provides the structure that keeps a wedding day flowing smoothly.

    Without one, important moments can feel chaotic or rushed. But when the schedule is too rigid, couples often feel like they are constantly moving from one task to the next.

    The best wedding timelines create a rhythm that allows events to unfold naturally while still keeping the day organized.

    This balance helps couples stay present rather than feeling like they are racing against the clock.


    Build Extra Time Into the Schedule

    One of the most common challenges on wedding days is running behind schedule.

    Hair and makeup may take longer than expected, transportation might be delayed, or family members may need additional time to gather for portraits.

    Adding small buffers of time throughout the day can make a huge difference.

    For example:

    • allow extra time before the ceremony
    • add breathing room between portraits and reception events
    • avoid scheduling events back-to-back

    These small adjustments help prevent the day from feeling rushed.


    Consider a First Look

    A first look—where the couple sees each other before the ceremony—can dramatically ease the wedding timeline.

    By scheduling a first look, couples can complete many portraits earlier in the day, including:

    • couple portraits
    • wedding party photos
    • some family photos

    This often frees up time later in the day, allowing couples to spend more time with their guests.

    It also creates an intimate moment before the ceremony that many couples find meaningful.


    Plan Portrait Time Around Good Light

    Lighting plays an important role in wedding photography.

    The most flattering natural light typically occurs during golden hour, shortly before sunset.

    If possible, consider scheduling 15–20 minutes for couple portraits during this time.

    These portraits often become some of the most beautiful images of the entire day.


    Keep Family Portraits Efficient

    Family portraits are an important part of wedding photography, but they can sometimes become one of the most time-consuming portions of the day.

    To keep this portion of the timeline smooth:

    • prepare a list of family groupings in advance
    • assign a family member to help gather people
    • schedule enough time without rushing

    Having a clear plan helps ensure these portraits move quickly while still capturing meaningful family moments.


    Leave Room for the Unexpected

    No matter how carefully a wedding timeline is planned, unexpected moments will always happen.

    Sometimes those moments become the most memorable parts of the day.

    A spontaneous toast, a surprise hug, or an emotional reaction during the ceremony can create powerful photographs.

    Allowing space in the schedule helps ensure these moments are captured naturally rather than interrupted by the next event.


    Prioritize the Experience

    The purpose of a timeline is not simply to create photographs.

    It is to help couples experience their wedding day fully.

    When the schedule allows time to breathe, couples can slow down, enjoy the moment, and connect with the people around them.

    Those genuine interactions often lead to the most meaningful photographs.


    A Timeline That Supports Real Moments

    The best wedding timelines create a balance between planning and presence.

    They provide enough structure to keep the day organized while leaving space for the unscripted moments that make weddings unforgettable.

    Because in the end, the photographs that matter most are often the ones that no one planned.